Hello!!!Today we have a mustache necklace tutorial for you <3The mustache is made of
shrink plastic ( you can find more about shrink plastic here)
Γειά σας !!!! Σήμερα θα φτιάξουμε ένα κολιέ μούστακι <3Για να φτιάξουμε το μουστάκι χρησιμοποιήσαμε shrink plastic ( μπορείτε να μάθετε περισσότερα για το shrink plastic εδώ)

You will need :
a sheet of shrink plastic
scissors
a pencil
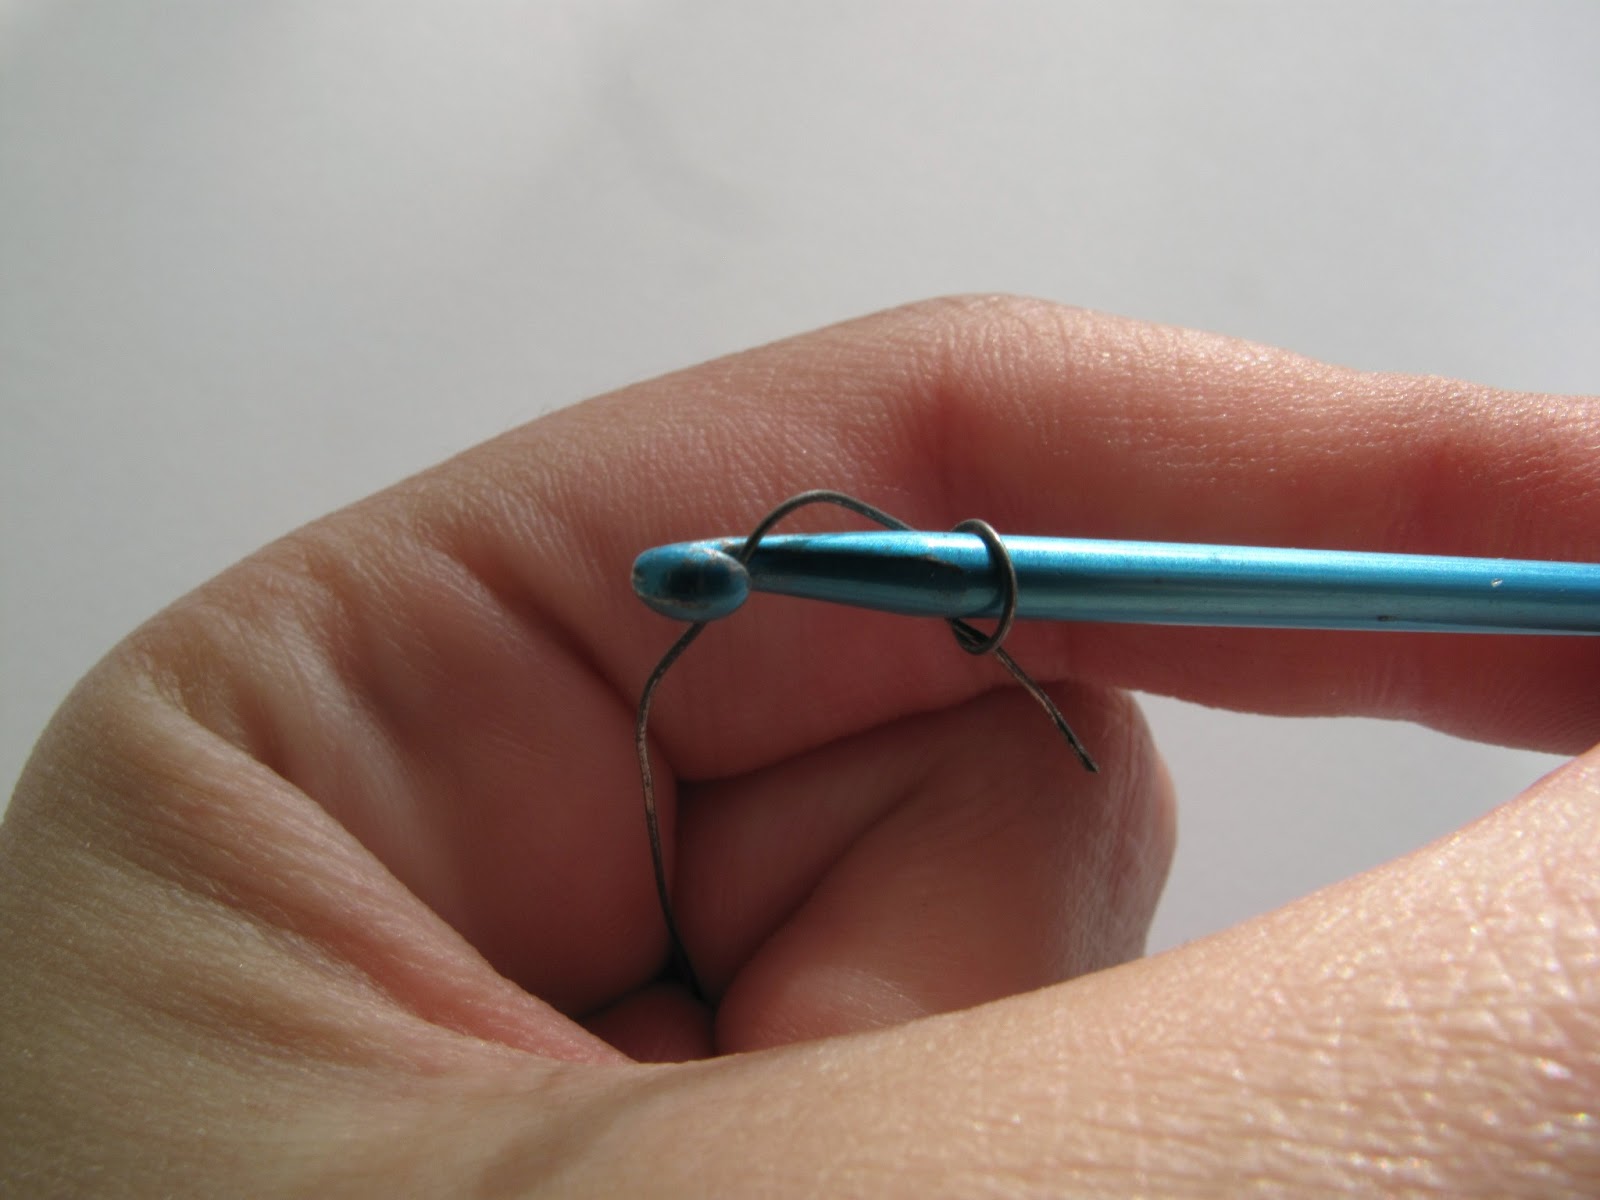
a hole maker tool
2 jump rings
1m of gold chain
a piece of parchment paper
a black acrylic paint
and an art brush
Θα χρειαστείτε :
μια κολλά shrink plastic
ένα ψαλίδι
ένα μολύβι
ένα τρυπητήρι χαρτιού
2 jump rings
1μ χρυσή αλυσίδα
μία κολλά αντικολλητικό χαρτί
μαύρη μπογιά
και ένα πινέλο
First with your pencil draw a big mustache on the shrink plastic sheet
Αρχικά με το μολύβι σας ζωφραφίστε ένα μουστάκι στην κόλλα από shrink plastic

Then cut the mustache
Μετά κόψτε το μουστάκι

And with a hole maker tool make 2 holes close to the edges of the mustache
Και με το τρυπητήρι χαρτιού κάντε 2 τρύπες κοντά στις άκρες του μουστακιού


Now place the mustache on a parchment paper and put it in the oven ( at 170° C ) for between 1 and 3 minutes. Watch your plastic as it shrink. It will curl up and then lay flat again.
Τώρα τοποθετήστε το μουστάκι στο αντικολλητικό χαρτί και βάλτε το στο φούρνο στους 170 βαθμούς κελισίου για περίπου 1 με 3 λεπτά . Παρακολουθήστε το μουστάκι όσο ψήνεται .Θα διπλώσει και θα ξανα ισιώσει.
It come out 7 times smaller and 7 times thicker than the original
Θά είναι 7 φορές μικρότερο και 7 φορλες σκληρότερο από το αρχικό

Ήρθε η ώρα να βάψετε το μουστάκι μαύρο !!!


Θυμηθείτε να βάψετε όλες τις μεριές του !

Τέλος βάλτε τα jump rings και την αλυσίδα και τελιώσατε<3<3<3<3